– 8″ x 8″ piece of main fabric
– 8 x 8″ piece of contrast fabric
– 18.5″ x 1.25″ of main fabric (for drawstring)
– 2 x 10mm buttons or beads to match main fabric
Other Bits:
-Matching Cotton in both Top and Bobbin threads
-Fabric Scissors
-Rotary Cutter and Mat
-6” x 24” Quilters Ruler.
-Soluble Marker Pen
-Seam Pointer
-Safety Pin (or bodkin)
-Pins
-Snippers
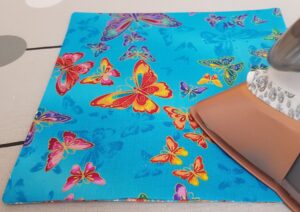
-Iron and Board
-Quarter Inch Foot For Sewing Machine