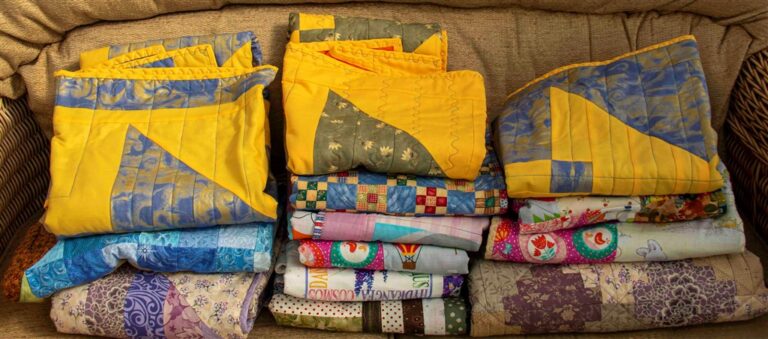
Here are some photographs and descriptions of projects recently completed by some of our members.
Thank you to everyone who has contributed something this time.
On the 30th July I joined a live online Masterclass with Wendy Gardiner, organised by Beyond the Festival of Quilts, the cost was £15. It was a Disappearing Nine Patch, a super easy patchwork technique. The video was available until the 31st August so you could enjoy and watch the session multiple times, pause, rewind. I really enjoyed it, it was simple enough to follow for my 1st attempt at an online live class and I thought it was good value for the money and would do an online class again. I made a cushion using the technique from the class. Elizabeth H
These are tops of two scrap quilts that I made at the beginning of lockdown. The first is made of triangles each with three trapezia ( trapeziums ). The second picture shows how it was put together.
The other top was made from various shapes of fabric pieces sewn together in strips with the occasional strip of squares in between. I’ve only quilted one of them up to now. Christine B
This ‘Kissing Tree’ table topper bought during the group’s visit to Uttoxeter Quilt and Stitch Village in April 2019 is a Lynette Anderson kit. It has simple piecing and uses backstitch, lazy daisy and french knots to complete the stitchery. At first I wondered if the stitching of the trees may be too repetitive and I would lose interest but it had the opposite effect. The calm, relaxing, slow process of stitching was the perfect distraction from anxious times during the lockdown.
‘By the Seaside’ is a miniature kit by Julia Gahagan that I purchased on a visit, with my daughter, to the South West Quilt Show in Bristol August 2019. Unable to drive out to the coast during lockdown I thought the next best thing was to stitch it. A bright, fun, cheerful little quilt (5″ x 9″) using applique and quilting techniques. The background uses the ‘stitch and flip’ method and after placing beach huts, boat and decorative fabrics the whole quilt is covered in a shadow fabric (soft blue net) before using both hand and machine stitches. The bunting is attached loosely to the top before binding. I’m now inspired to create some scenes of my own as it was a quick make and ideal for using up scraps.
Janet C
This is a 48″ x 48″ quilt, made up with appliqued flowers and leaves squares and railfence squares.
The borders are interspersed with contrasting squares
Maureen M
This is a project I found on Sewing Street by Debbie Shore. It’s a sewing machine dust cover and storage bag set. My husband Ron bought me a fabulous new sewing machine just before lockdown and I thought this was just what I needed.
The fabric was from a large panel and all I had to do was cut around the outer edge of all the fabric pieces and sew. The cover was straight forward as Debbie’s instructions are very helpful and she gives very good tips, such as labelling the pieces as you cut them, so that you don’t forget which piece is which. She doesn’t give any abbreviations, as she will say ‘right sides together’ or ‘wrong sides’ which I find very helpful.
I cut around the sewing machine for the front of the cover and appliqued it on. I felt my stitches around the applique where a little small, but I will know for next time.
When making the drawstring bag – well this was a bit tricky for me, as I have never made something as complex as this before. Especially when it came to where I had to sew in the part for the drawstring.
However, I read the instructions a few times until it finally clicked. I am very pleased with how it turned out and I think if I was being marked for my bag I would get 9.5 out of 10!
I also made this rabbit for my godson’s son who is 12 months old. I used furry fabric which I found hard to work with as it easily stretched, but got there in the end. Maureen K
Well I have been busy with Linus quilts, 13 so far and more on the way. Barbara from Linus is collecting them today and I have another 3 on the go. Linda G
Hello everyone and best wishes for the Autumn, did we have a summer?
Having spent the first few months of this covid period making laundry bags for the hospital and then face coverings for family and friends I decided I needed an uncomplicated project to keep me motivated.,so embarked on this log cabin from an old Today’s Quilter.This is the centre it still requires 64 squares around the edge . The title will be Light at the end of the tunnel !!
Liz C
I bought a pattern for a ‘tuffet pin cushion’ a few years ago and this was another project I had never started. When at one of the Harrogate shows, I managed to find a 1.5” jelly roll which meant I could make the project without having to cut down strips. A small bag of ground walnuts was put inside on top of a circular piece of foam followed by a circular piece of wood (that my husband Mark kindly CNC’d for me). I looked on-line to find a small set of door knobs that could be screwed into the wooden base and also an ‘art deco’ style button for the top. I am so glad I finally got round to making it, as it is a delight to use.
On the 05th Feb 2020 our group took part in hand sewing (or machine sewing) ‘mystical circles’ where a reverse applique patch would be put together without any stitching on top. Doreen P kindly donated some fabric and Carolynne P prepared packs for the session so that the members could get sewing straight away. With the aim that the prepared pieces could be made into a quilt for Linus. As the completed samples where collected over the next few weeks, they were put into my pile of PHD’s (projects half done!). As we have been in lock-down I began to work through my half-finished projects and eventually came across the pack of circles neatly sewn into squares by the group and decided to attempt to put them together into a small quilt for Linus, as promised. I decided to used white sashing to help to increase the overall size, and selected a complimentary green fabric for the binding. When put together, I hand stitched some long running stitches on the top and used my embroidery machine to satin stich some green circles in the middle of each section. I think our group project has turned out ok.
Carolynne P
We use cookies on our website to give you the most relevant experience by remembering your preferences and repeat visits. By clicking “Accept”, you consent to the use of ALL the cookies.
This website uses cookies to improve your experience while you navigate through the website. Out of these cookies, the cookies that are categorized as necessary are stored on your browser as they are essential for the working of basic functionalities of the website. We also use third-party cookies that help us analyze and understand how you use this website. These cookies will be stored in your browser only with your consent. You also have the option to opt-out of these cookies. But opting out of some of these cookies may have an effect on your browsing experience.
Necessary cookies are absolutely essential for the website to function properly. This category only includes cookies that ensures basic functionalities and security features of the website. These cookies do not store any personal information.
Any cookies that may not be particularly necessary for the website to function and is used specifically to collect user personal data via analytics, ads, other embedded contents are termed as non-necessary cookies. It is mandatory to procure user consent prior to running these cookies on your website.